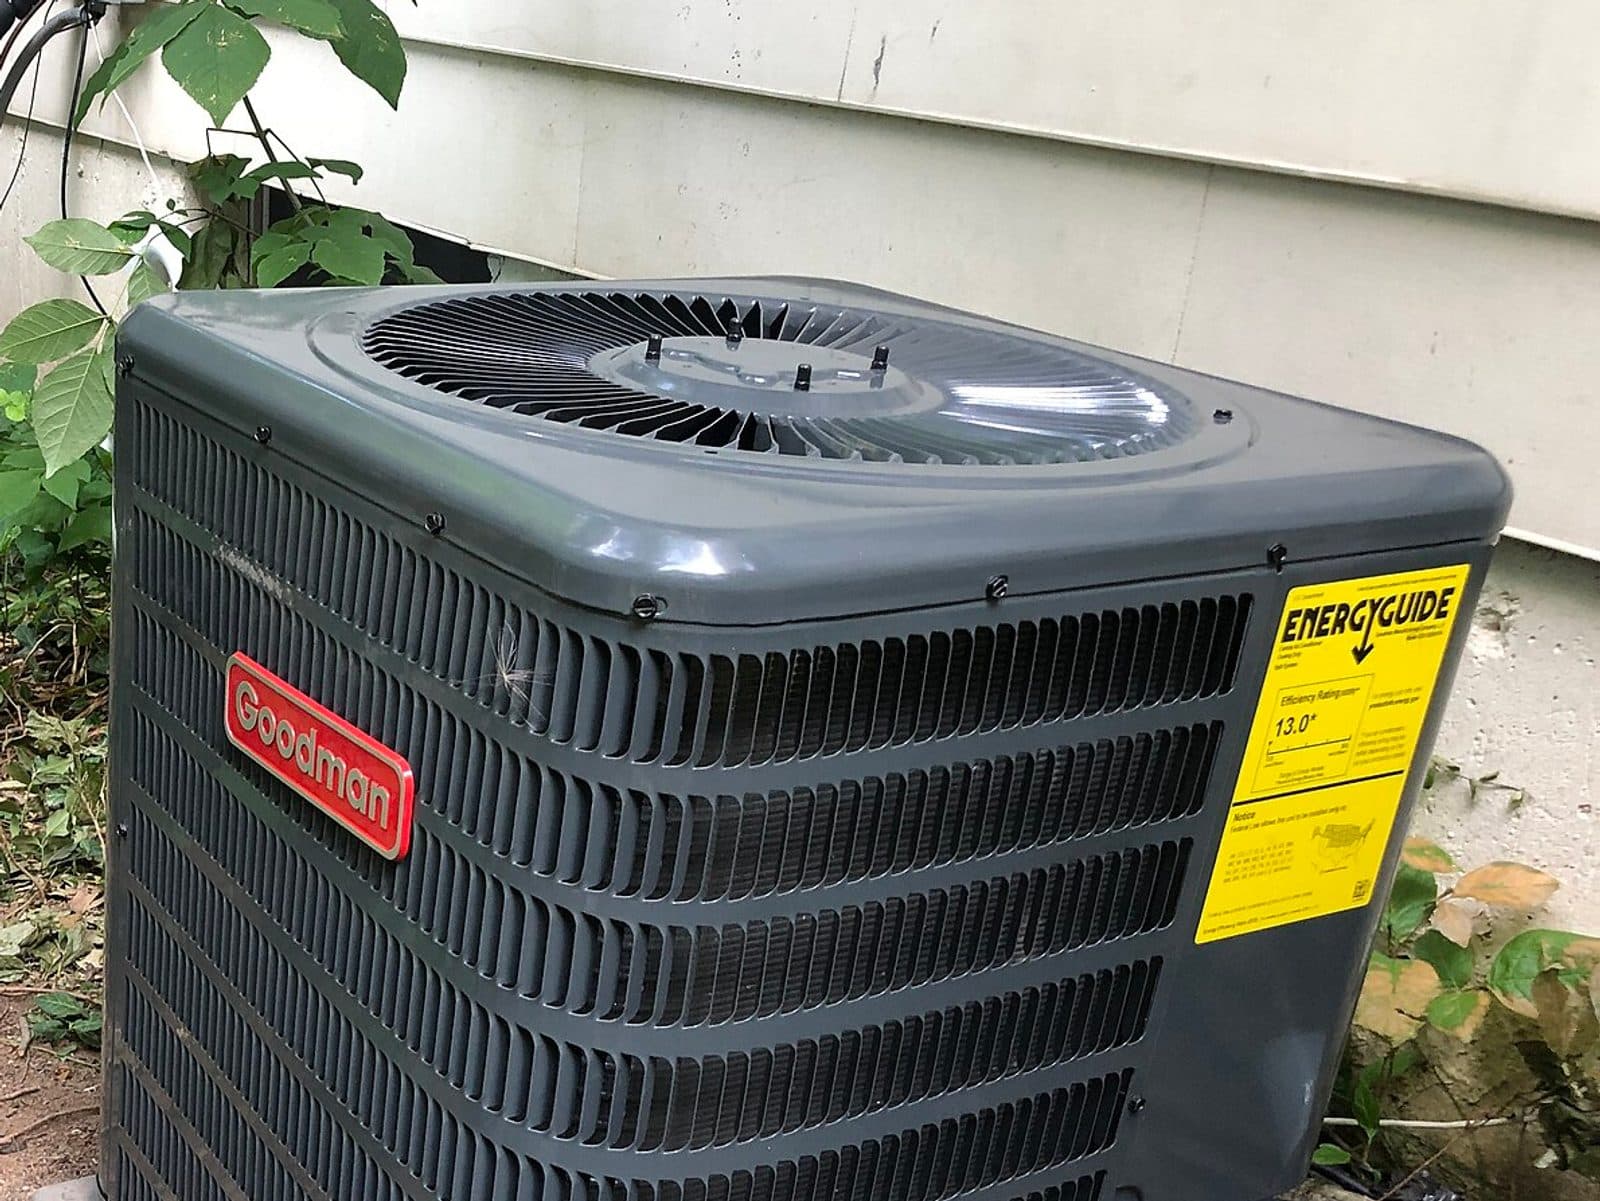
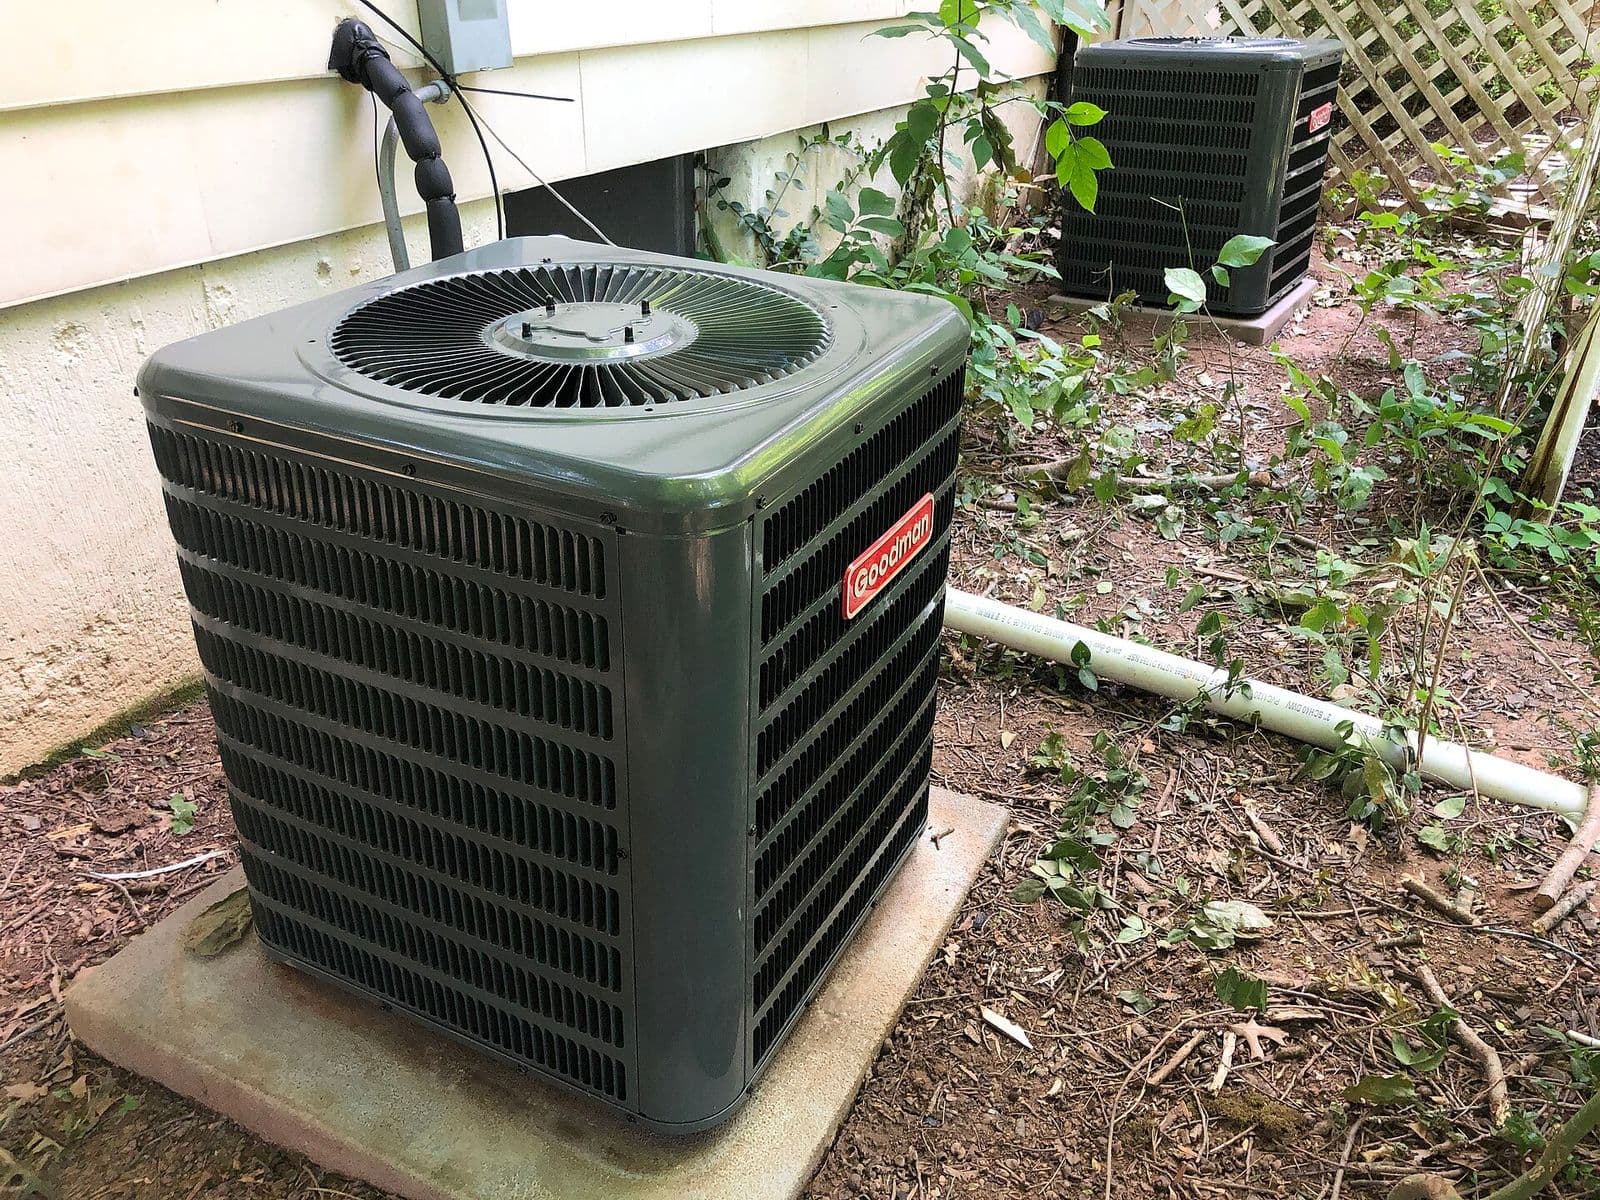
Refrigerant does not get used up. If charge is low, it leaked out, and topping it off without repair means paying for the same fix again in weeks or months. In DFW homes the most common leak site is the indoor evaporator coil, where formicary corrosion pits the copper, followed by flare joints, Schrader valves, and line sets rubbed through in hot attics. The frozen AC coil guide explains one visible result of low charge.
Leak repair uses electronic detectors, nitrogen pressure testing, and bubble solution to pinpoint the site before any decision is made. The technician then explains whether the part can be repaired or the coil should be replaced, and whether the system's age makes AC installation the better call. Follow-on AC repair testing confirms charge, airflow, and cooling after the repair.
Refrigerant Leak Repair at a glance
- Service
- Refrigerant Leak Repair
- Service area
- Dallas-Fort Worth, TX metro (18 towns)
- Permits
- Handled by the HVAC technician
- Pricing
- You approve the price first
Signs
Signs you need refrigerant leak repair
AC cools less each week
A slow, steady decline in cooling with longer runtimes is the classic pattern of a small refrigerant leak. The system still runs — it just cannot keep up on hot afternoons.
Ice on the coil or suction line
Low charge drops coil temperature below freezing, so moisture ices the evaporator and the large copper line. Ice is a symptom of the leak, not the root problem.
Hissing or bubbling sounds near the coil
A faint hiss at the indoor coil or line set joints can be refrigerant escaping. Larger leaks are audible; small ones need a detector to find.
Charge was added last season and is low again
A system that needed refrigerant two years in a row has an active leak by definition. The next step is leak detection, not another top-off.
Oil stains on coil or line joints
Refrigerant carries oil with it, so a leak often leaves a dark oily film at the escape point. The technician uses that clue to narrow the search area.
Process
What the HVAC technician does
- 1
Step 1 — Charge and performance confirmation
Pressures, superheat, and subcooling are measured to confirm the system is actually low and that airflow is not the real cause of the symptoms.
- 2
Step 2 — Leak location
An electronic detector surveys the coil, joints, valves, and line set. If needed, the system is isolated and pressure-tested with nitrogen to confirm the exact site.
- 3
Step 3 — Repair or coil replacement
Repairable joints are brazed and valves replaced; a pitted evaporator coil is replaced. The system is then evacuated to remove air and moisture.
- 4
Step 4 — Recharge and verification
Refrigerant is weighed in and trimmed by measured superheat and subcooling. Cooling, drainage, and a re-check for leaks close the job.
Pricing
What affects the cost
Every home is different, so we don't publish prices — these are the factors the HVAC technician weighs when pricing the work.
Leak location
A Schrader valve or accessible joint is a small repair. A leak inside a pitted evaporator coil means coil replacement and more labor.
Refrigerant type and amount
Systems differ in charge size and refrigerant type, and phased-out refrigerants are handled differently from current types.
Detection method needed
A leak found quickly with a detector costs less in labor than one requiring isolation, nitrogen testing, and attic line set tracing.
System age and coil condition
On an older system, coil replacement may not be sensible if the condenser is also near failure — the technician weighs [system replacement](/hvac-services/hvac-system-replacement/) with you.
Access to the coil and line set
Attic coils, finished closets, and long line sets buried in walls add time to both detection and repair.
DIY
What you can do — and what to leave alone
Safe for homeowners
- Replace the filter and confirm vents are open — restricted airflow mimics low charge and should be ruled out first.
- Note when cooling started slipping and whether ice appeared; that timeline helps the technician judge leak speed.
- Keep the area around the indoor coil access clear so the detector survey is not delayed.
Stop — call an HVAC technician
- Never buy or add refrigerant yourself; handling it requires EPA Section 608 certification and charging by measurement.
- Never use leak-stop additives without the technician's advice — they can damage compressors and void warranties on some systems.
- Never braze or open refrigerant lines yourself; the circuit is pressurized and the oil is acidic once contaminated.
- Never keep running a system that ices over — thaw it with fan-only mode first.
- Never open the air handler electrical panel while diagnosing; leave internal testing to the technician.
FAQ
Refrigerant Leak Repair: common questions
Can a refrigerant leak just be topped off?
It can, but the cooling will fade again as refrigerant keeps escaping, and running low damages the compressor. Locating and repairing the leak first is the fix that lasts — topping off alone is a temporary measure, not a repair.
Where do most AC leaks happen?
Most residential leaks are at the indoor evaporator coil, followed by line set joints, service valves, and Schrader cores. Coil corrosion is common in humid DFW attics — see the [frozen coil guide](/resources/frozen-ac-coil/) for how low charge shows up.
Is leaking refrigerant dangerous?
Refrigerant displaces oxygen in confined spaces and decomposes into irritating gases near open flame, so leaks should be repaired promptly and the area ventilated. The larger everyday risk is compressor damage from running the system low on charge.
Areas
Towns we serve
Related services
Related guides
Cooling
Frozen AC Coil: Why It Happens and What to Do
A frozen evaporator coil is caused by too little airflow across the coil or too little refrigerant inside it. Turn the cooling off, set the fan to ON to thaw the coil, and replace a clogged filter. Once thawed, a local HVAC technician in our network must fix the airflow or leak cause, or the coil will freeze again.
Troubleshooting
AC Not Cooling the House? A Step-by-Step Check
An AC that runs but does not cool the house usually has restricted airflow, a dirty outdoor coil, low refrigerant, or leaky ducts. Check the filter, confirm every supply vent is open, and rinse debris off the outdoor coil. If the indoor temperature keeps rising on a normal day, call a local HVAC technician in our network.
Troubleshooting
AC Blowing Warm Air? Causes and What to Check
An AC blowing warm air is most often set to fan-only or heat by mistake, has a clogged filter, lost power to the outdoor unit, or is low on refrigerant. Check the thermostat mode, filter, and outdoor disconnect first. If the outdoor unit runs but the air stays warm, call a local HVAC technician in our network for diagnosis.